| Video ↑ | Text ↓ |
How To Automate Paperwork With TrainerFu?
In this tutorial, we’re going to show you how you can automate the paperwork when you onboard a new client.
Specifically, we are going to look at the following aspects:
- How to build custom forms, like, PARQ, Waiver, Questionnaire using simple tools, like, Google Forms?
- How to automatically deliver these forms to your clients using scheduled messaging?
- How to add electronic signature fields to any onboarding form that you send to your clients?
- And finally, how to use ready-made templates to build these forms in no time?
So, let’s get started.
Building a custom form
For creating a custom form, you can use Google Forms, as it’s simple, intuitive and easy to use. Other alternative form software include:
In this example, we are going to use Google Forms, but you can use any form software, which gives you a shareable link.
To create a new Google Form, just head over to Google Forms, and start with a blank form. In case you don’t want to start with a blank form, you can also use the below Google Form templates:
Just click on the above links and tap on “Copy this form” button to copy the Google form to your account.
In case you want to edit or add a few elements, you can simplydrag and drop elements from the toolbar to build your custom form.
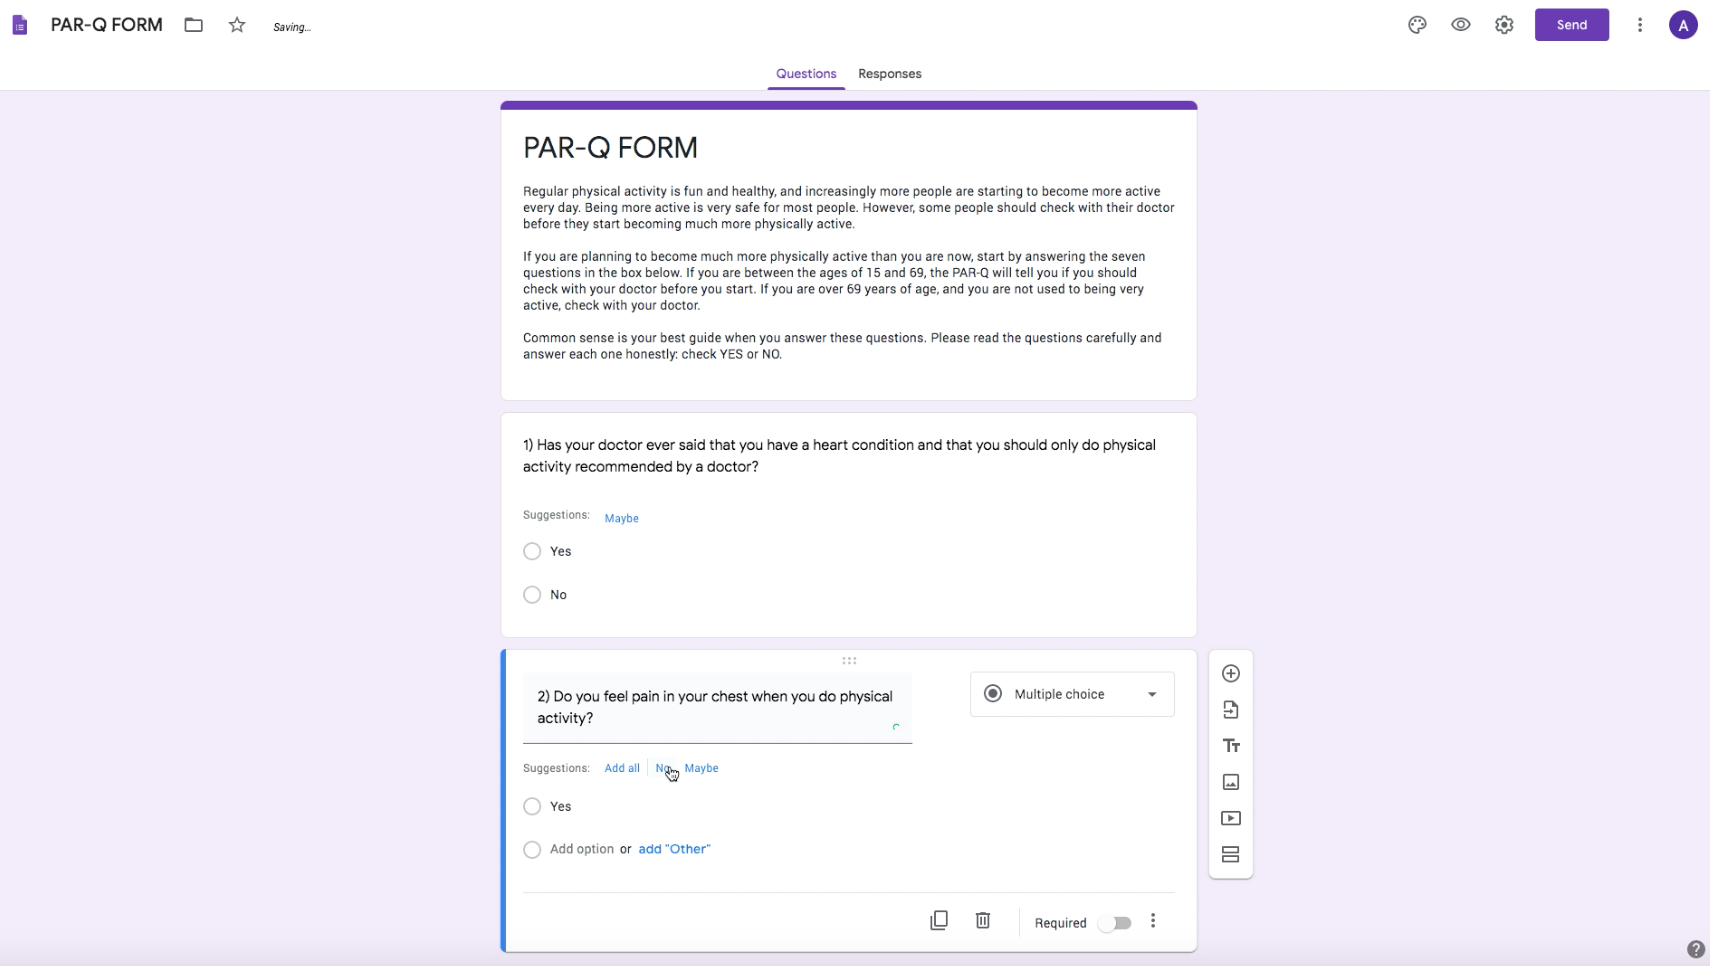
Just keep adding all the fields that you want, and once you are done creating your form, click on send. This won’t send your form anywhere, but will just open the “Send screen”.
Go to the middle “Link” tab on this popup screen, and click on the Copy button to copy the unique link of the form.
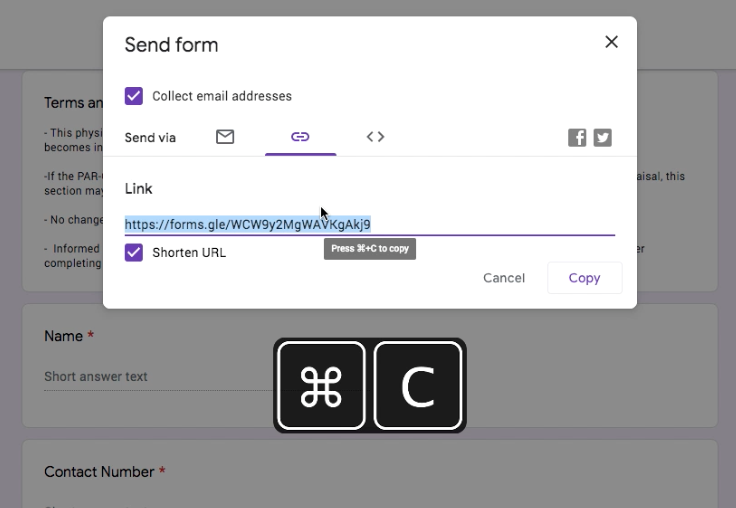
We’ll be using this link in the next step.
Scheduling form delivery using auto-messaging
To automatically send the form to all the new clients that sign up for your personal training, we need to schedule the message on the TrainerFu app.
To set up auto-messaging:
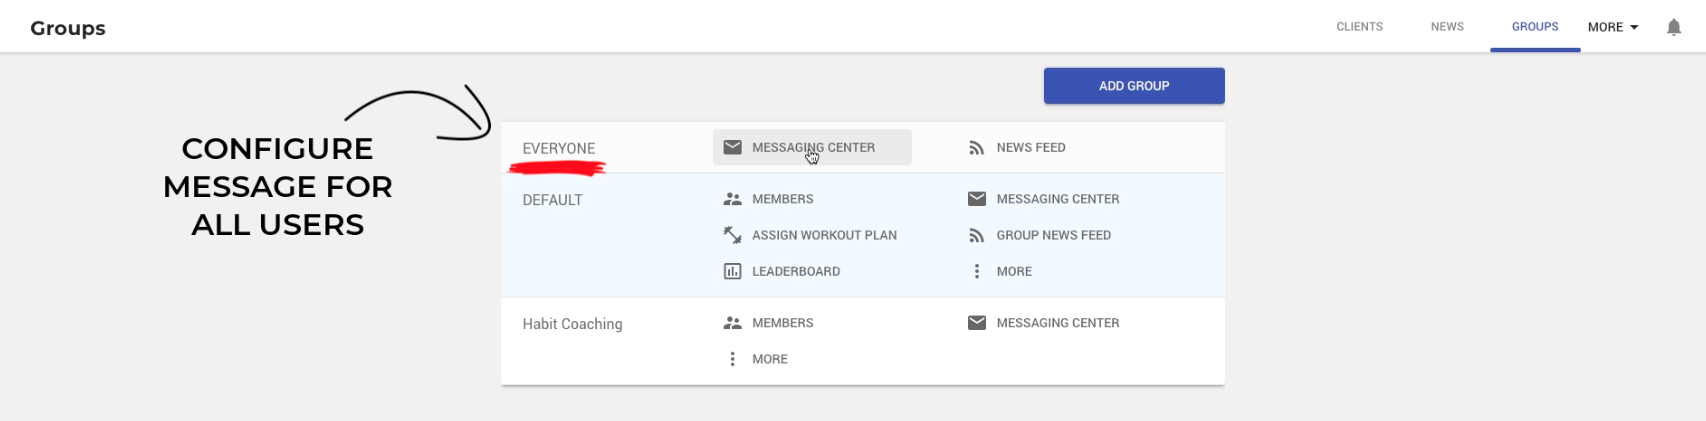
Step 1: Navigate to the Groups tab and select “everyone”.
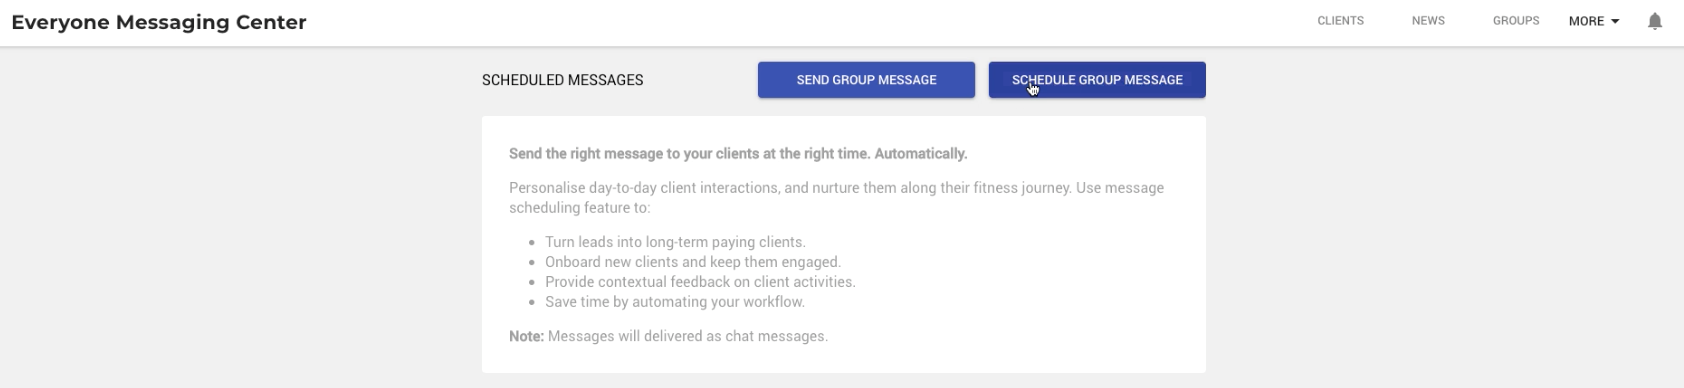
Step 2: Next, add a new scheduled message by clicking on “Schedule Group Message” button.
Step 3: Write a short message that explains how your clients need to fill-up the form, and insert the form link at the bottom.
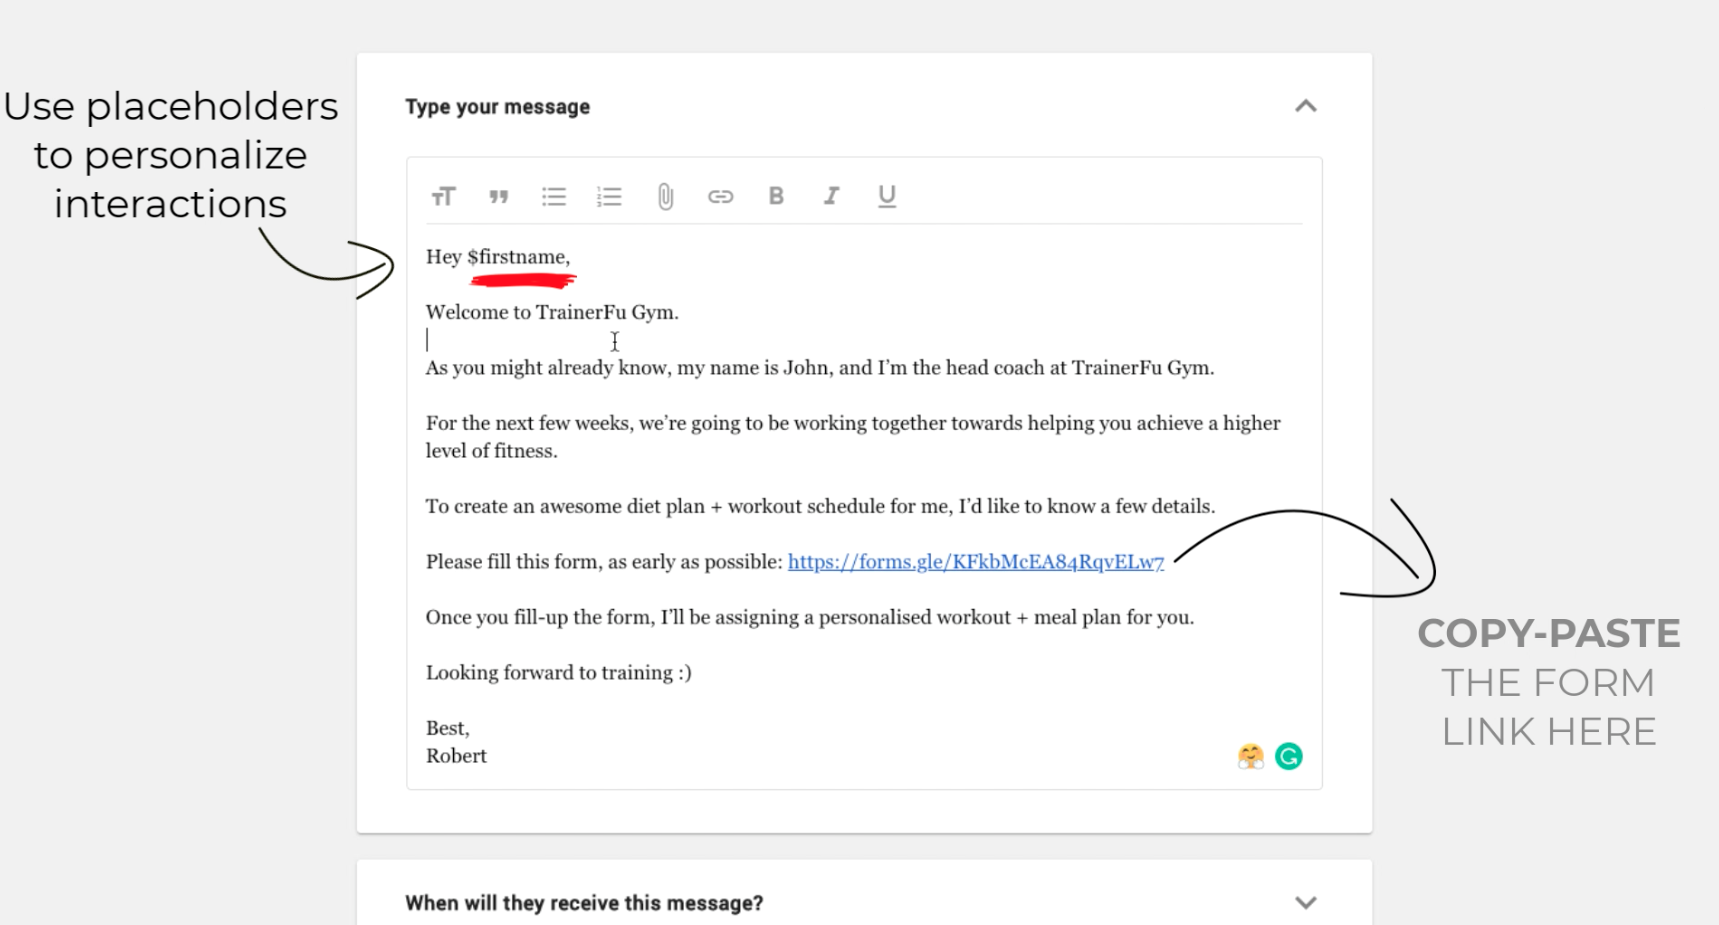
Tip: You can personalise your message by using placeholders ($firstname and $lastname) inside your message. When the message will be delivered to your clients, the placeholders will be replaced by your client’s first and last name.
Step 4: Next, schedule the message to be sent out on the same day when their account is created, and click on “Schedule”.
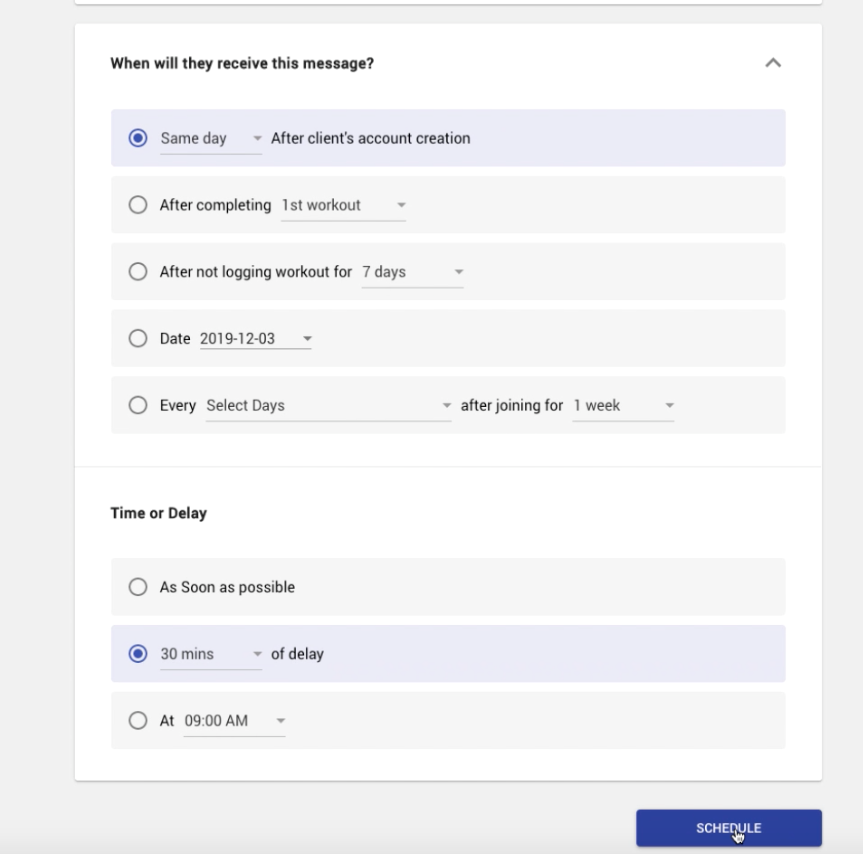
Tip: We recommend adding a delay of 30-90 minutes, as sending the forms immediately to your clients on signup might overwhelm them. Ideally, you should add a delay of a few minutes, so that clients can actually respond by filling up the form.
Once you click on Schedule, the message will be scheduled for everyone.
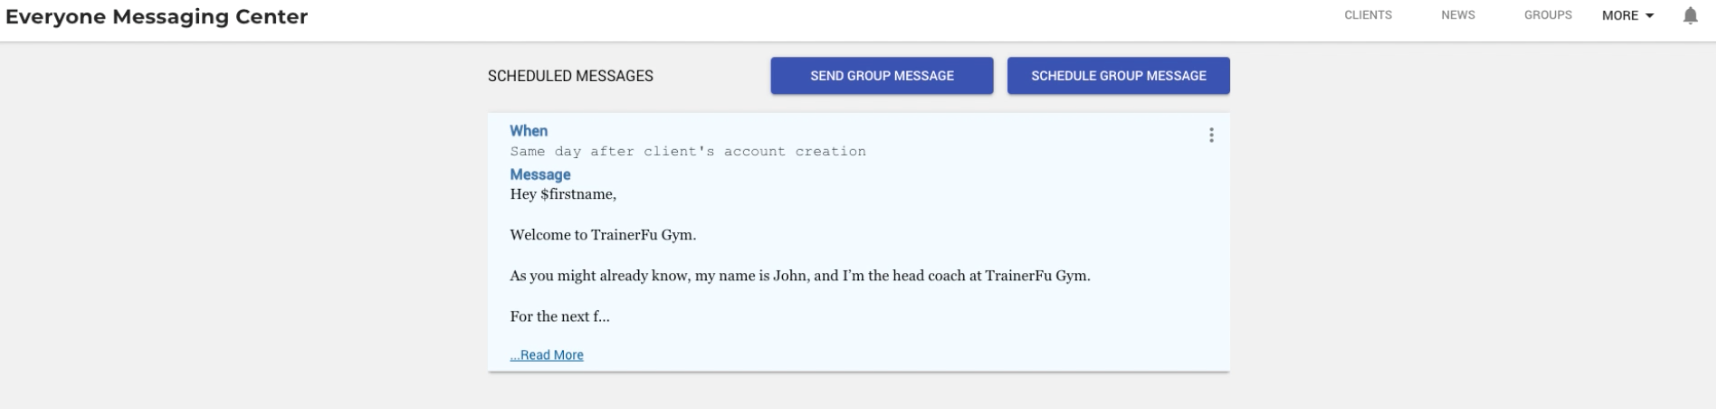
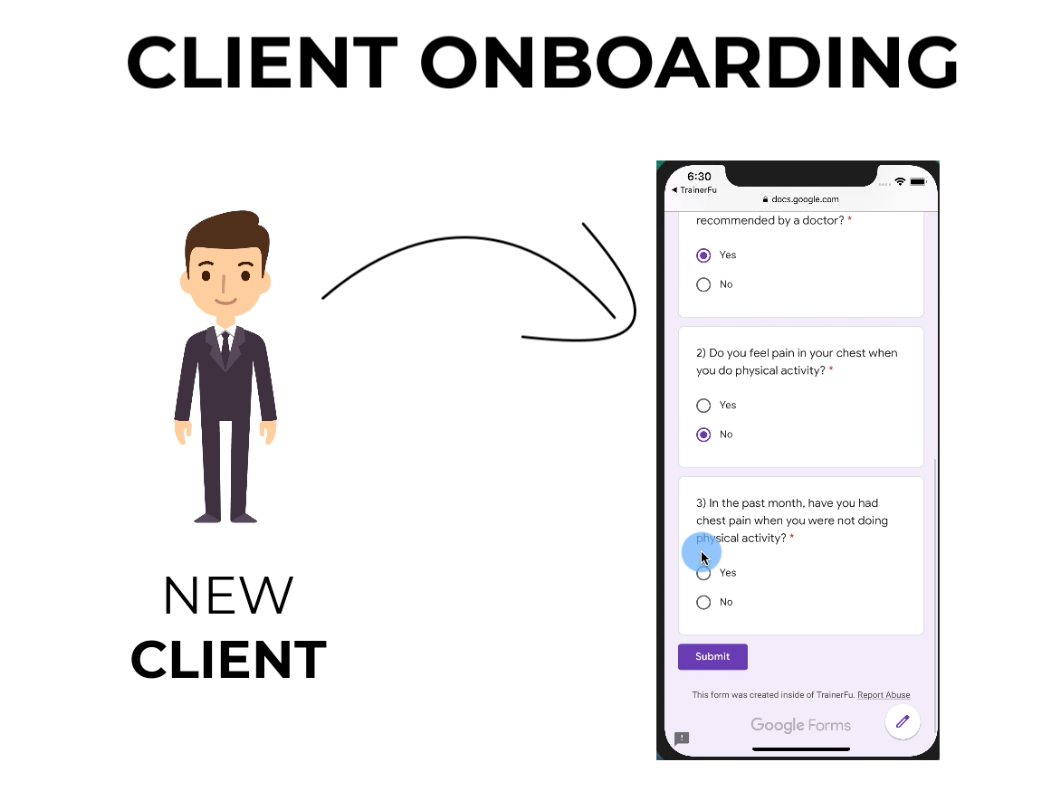
Now, whenever a new client logs in to the app for the first time, this message would auto popup in their chat window at the right time. Your clients can simply click on the form link attached in the message, and complete the form.
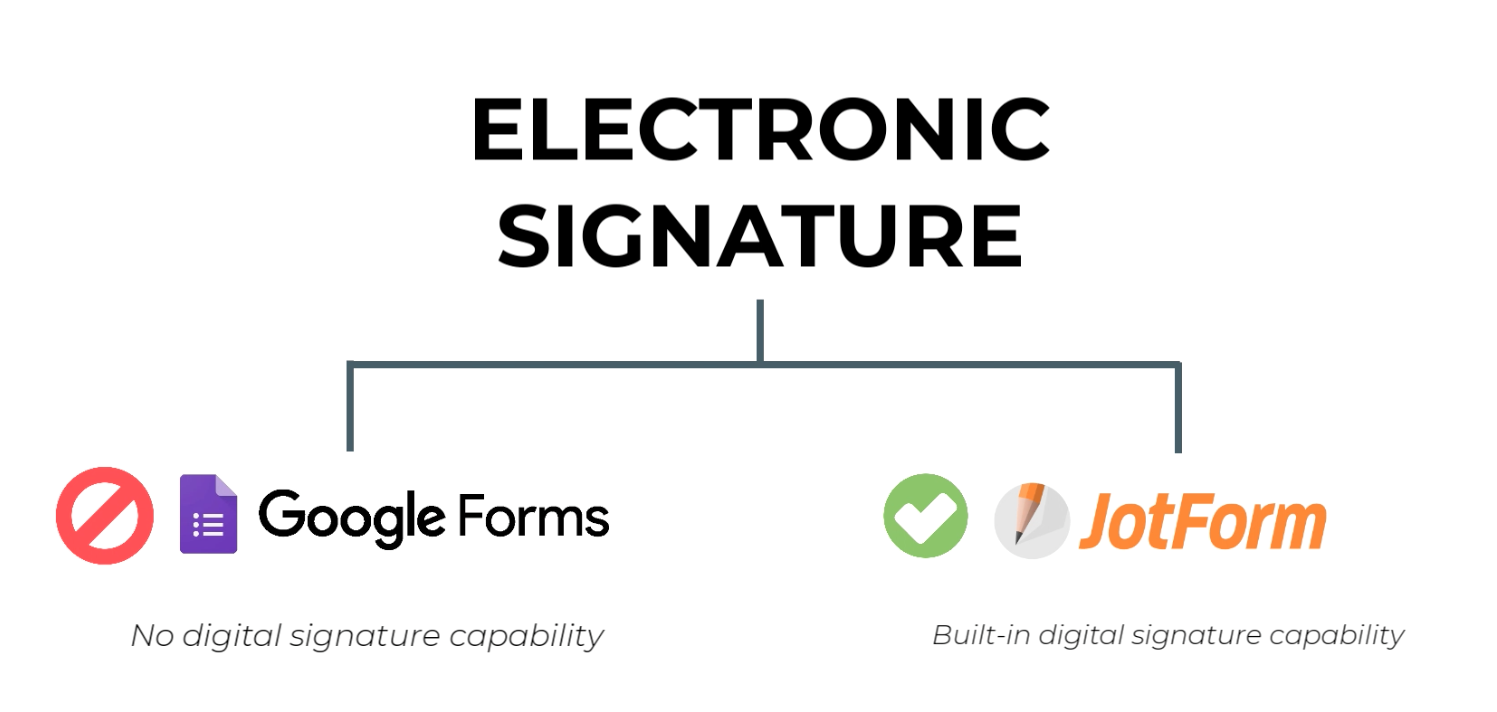
Adding electronic signature to forms
In case you want to get the forms digitally signed by your clients, you’ll have to use a form software like Jotform that comes with built-in digital signature capabilities.
Here’s a guide that will help you setup electronic signature on JotForm:
https://www.jotform.com/help/433-How-to-Add-an-E-Signature-to-Your-Form
Ready-to-use Templates
To help you get started quickly, we have compiled some form templates for popular use-cases. You can simply click on the below links to copy the form to your account.
Google Forms
JotForm
- PAR-Q Form
- Personal Training Questionnaire
- Waiver Form